A Round Robin automation is a good use of triggers and user groups as it will evenly distribute cases to whoever is within the group you link the trigger to. A round-robin is widely used to distribute new, incoming leads to a team of advisors and will be the example used in this article. You can use a round-robin for other stages in your process if there is a need for it by repeating these steps but changing the groups and associated trigger within the campaign.
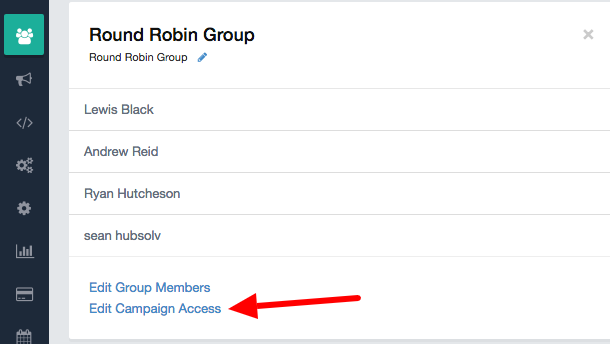
The first step to set up a round-robin will be to create the relevant user group and grant the group access to the campaign your leads will drop in to.
To learn more about creating groups click here.
It is also important to note that when you set up a new user who will be managing cases that they are also included in the necessary groups so that leads are assigned to them.
Next, you will need to create a trigger to automatically assign the leads systematically.
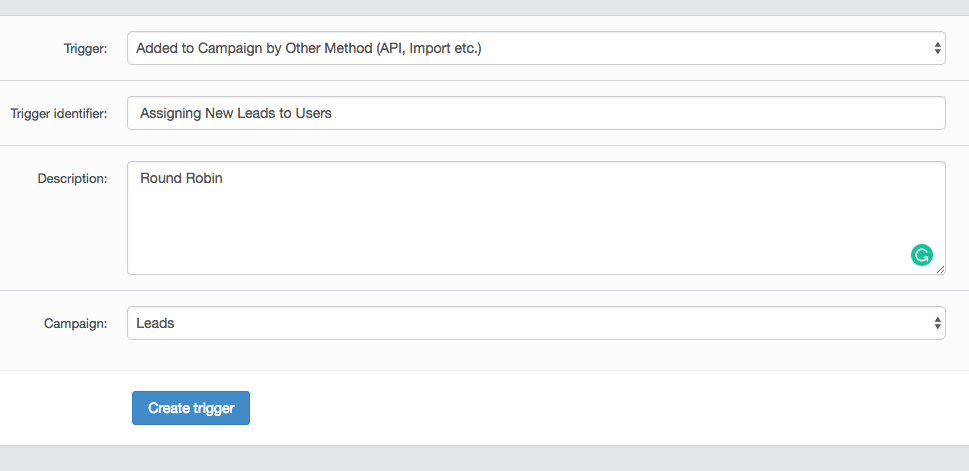
- First, select the campaign you want to add the trigger to within campaign management
- Select the trigger "Added to campaign by other method (API, Import etc)" - This ensures all cases added into the system (except manually added) are included into the round-robin
- Differentiate it from the other triggers you already have by calling it something identifiable, so for example - "assigning new leads to users"
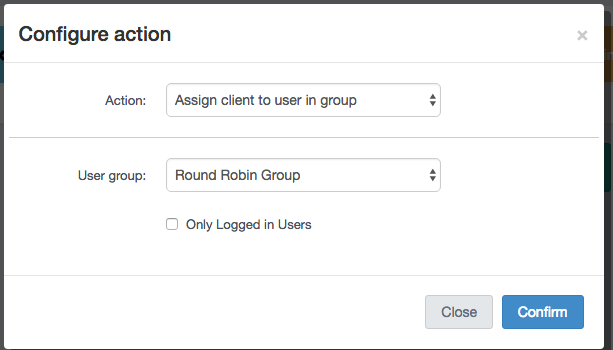
From here; add actions
- Configure the action "assign client to user in group" and select the group you want to the leads to be assigned to, for example, Round Robin Group.
- Set the condition to when the client status is changed to "not contacted" - as "not contacted" is the default status which all leads are set to.
- The condition is then set to whatever
Remember to enable to trigger by returning to the chosen campaign's list of triggers and clicking on the start trigger icon.

Comments
0 comments
Article is closed for comments.