In order to start conversations with your clients you need to create a configuration file, containing the following:
- Message to the client when they first start the conversation with you.
- Information to gather (Bank Statements, Credit Checks, Driver's Licence, etc.)
- Whether a partner conversation should also be setup along with it.
- Specification of folder for the files to be stored once uploaded.
Please note: We rebranded our client portal, previously called Ibby, under the name HubSolv Messenger. You may find the term or logo for Ibby still in our media - please bear with us while we work to update the product's name and visuals throughout.
To create the configuration file, you can use the following link:
https://xxx.hubsolv.com/clientportal/edit_configuration
Replace xxx with your HubSolv (for example https://sean.hubsolv.com/clientportal/edit_configuration)
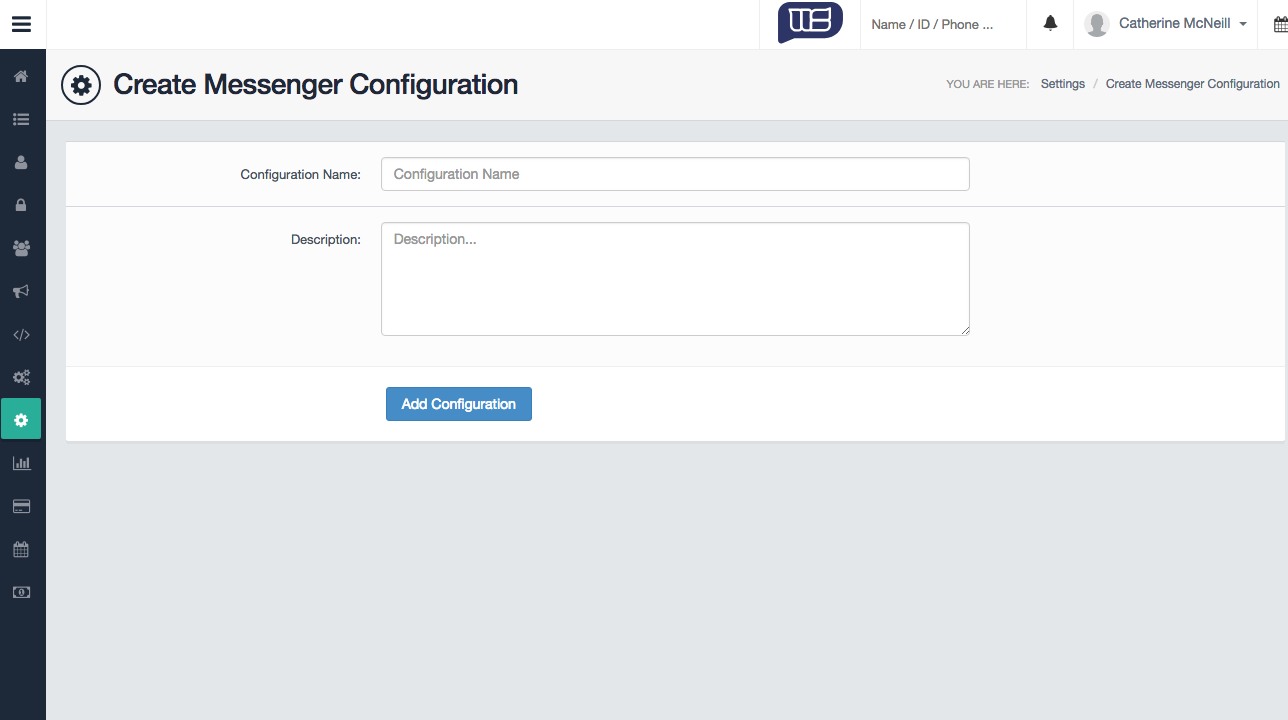
Once you are in the Create Messenger Configuration screen, you can enter a name and description (these can both be the same). Think of ways to distinguish your new configuration from others you may create in the future.
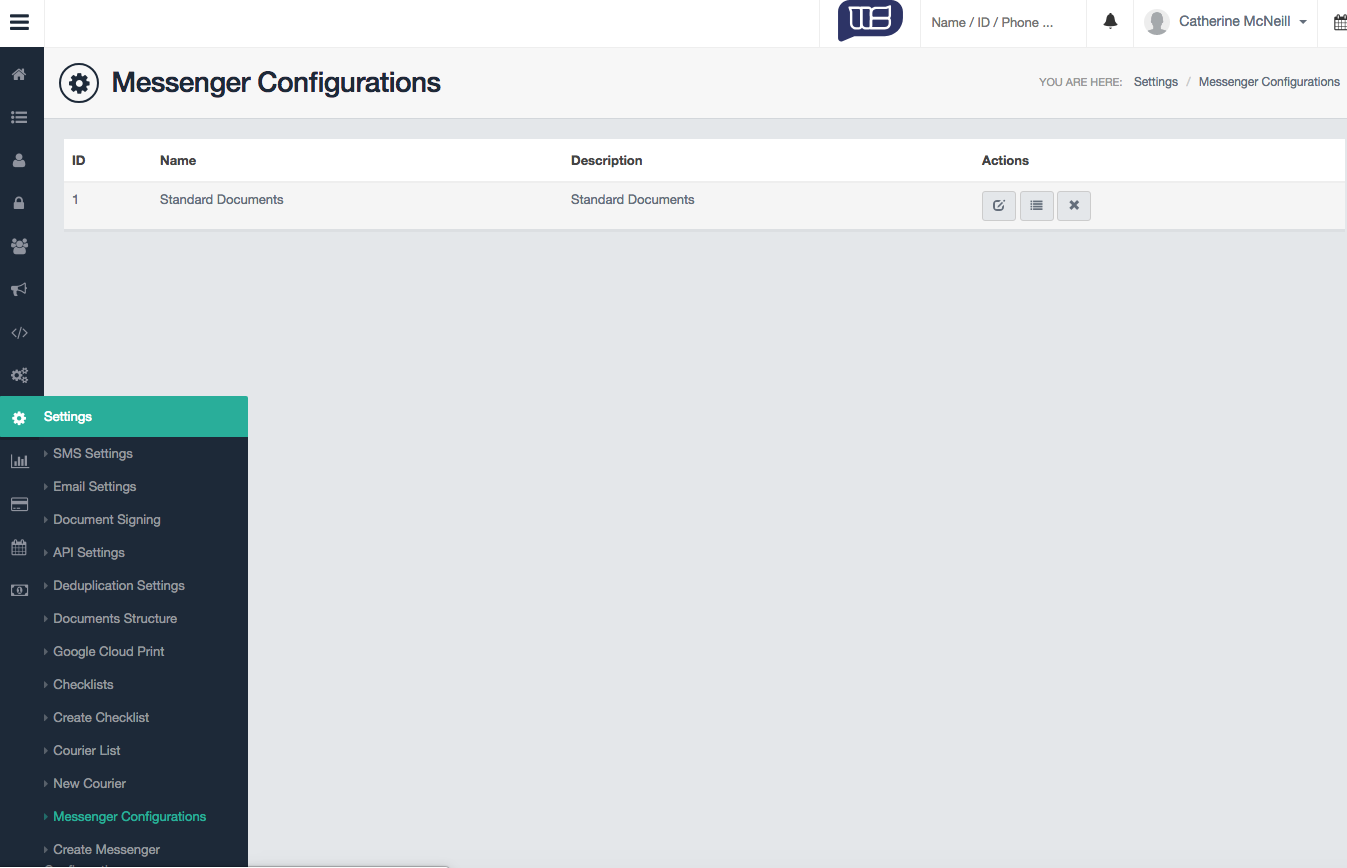
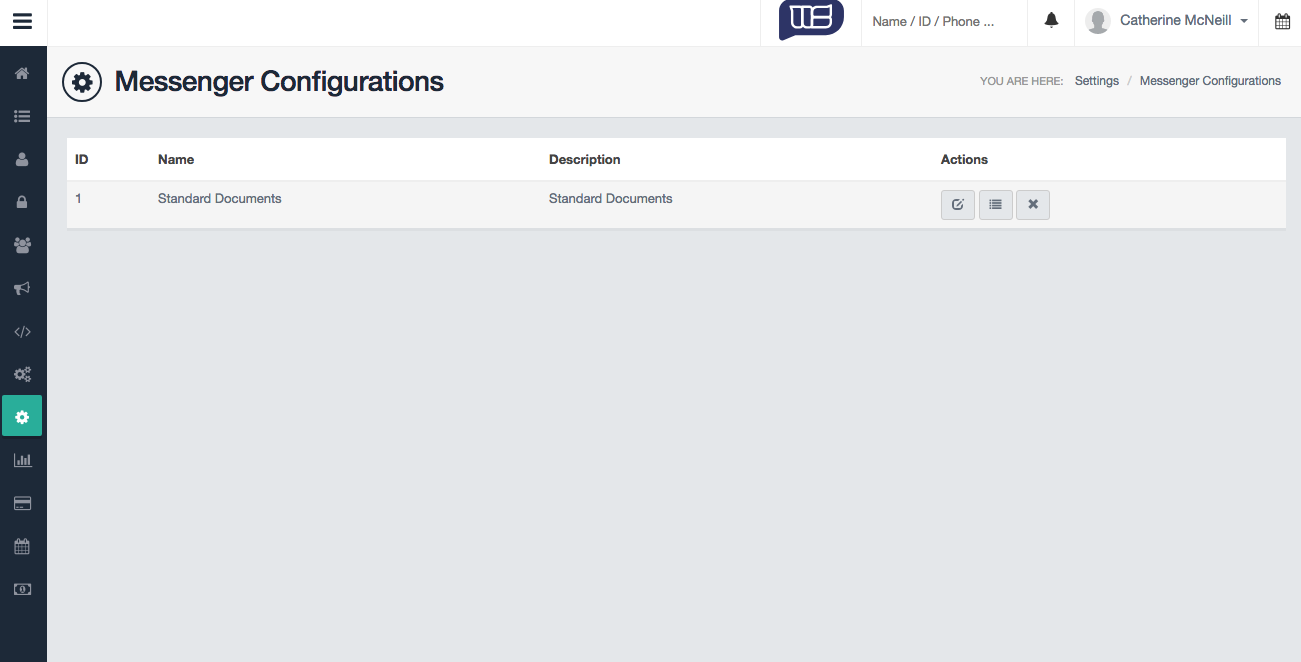
When the configuration has been created, you'll be taken to a view showing all your configurations in the system, along with actions you can perform. In order to add items to this configuration, click on the button with the list icon.
The button for adding items looks like this: 
You will then be taken to a screen where you can add items to the configuration.
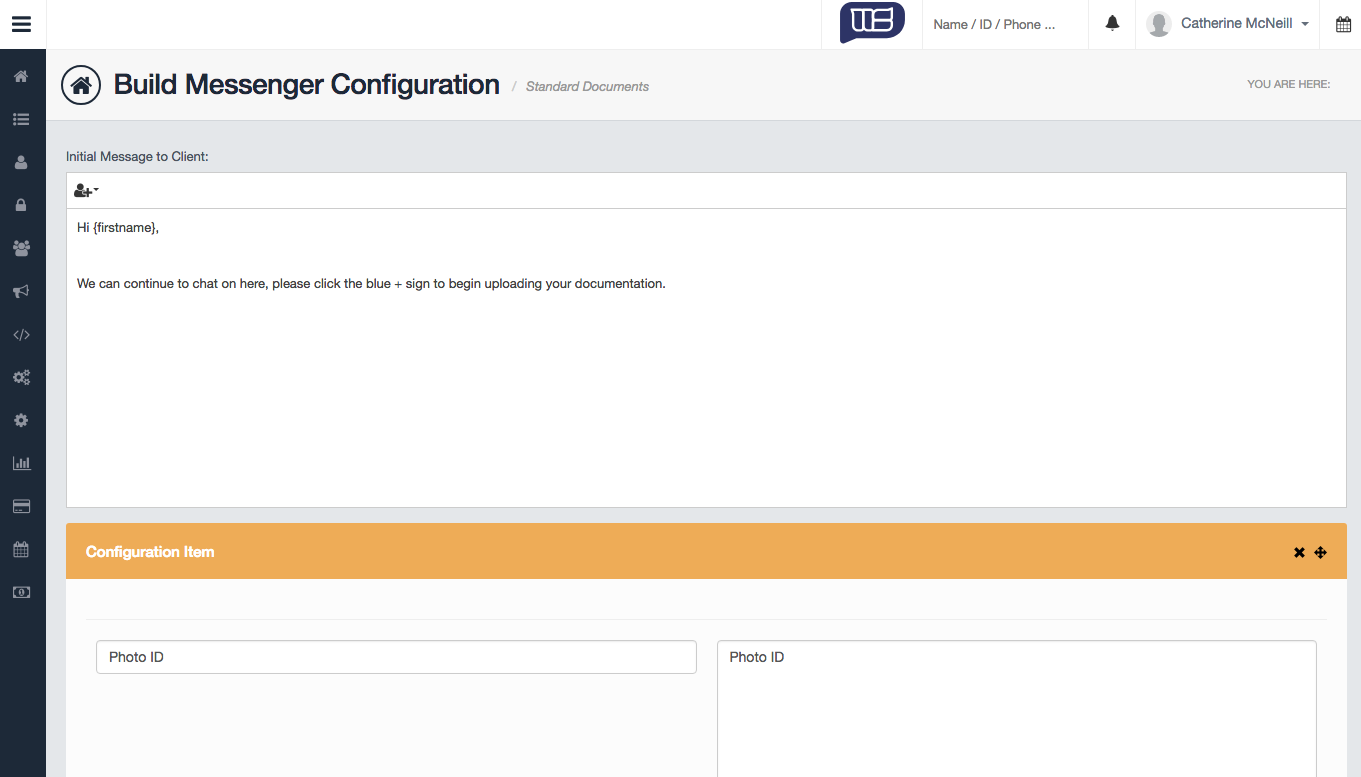
You'll be able to add an initial message to the client, and add items. The items define what you want the configuration to ask from the client. Don't worry if you can't think of all the items you want to collect, you can change this when you're talking to the client at any time.
Example case: setting up a configuration file for Bank Statements
A commonly used configuration file is one that asks the client to upload their Bank Statements through our Bank Connect feature in HubSolv Messenger.
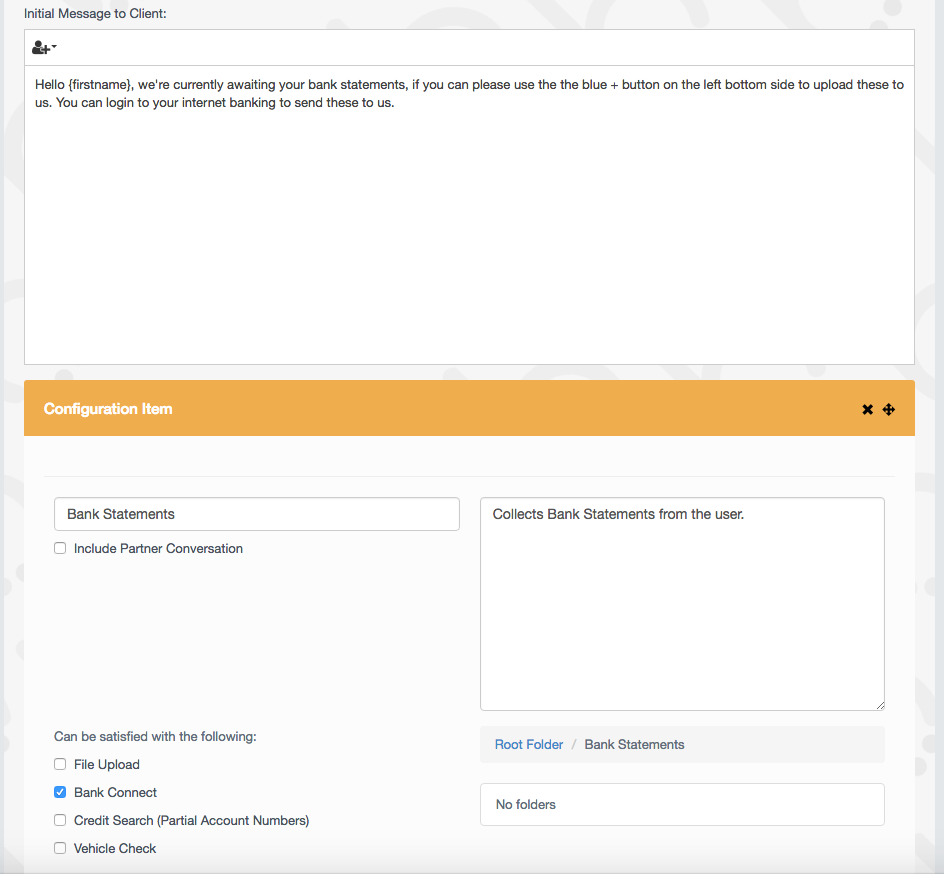
First, you'll want to set your message to the client (the message they'll first see when accessing the messaging portal)
For instance: "Hello {firstname}, we're currently awaiting your bank statements. Please use the the blue + button on the side. You can login to your internet banking to send the statements to us."
HubSolv Messenger will also work with our dynamic field system, so feel free to use those too in your initial message.
Now that the message is setup, you can start adding Items.
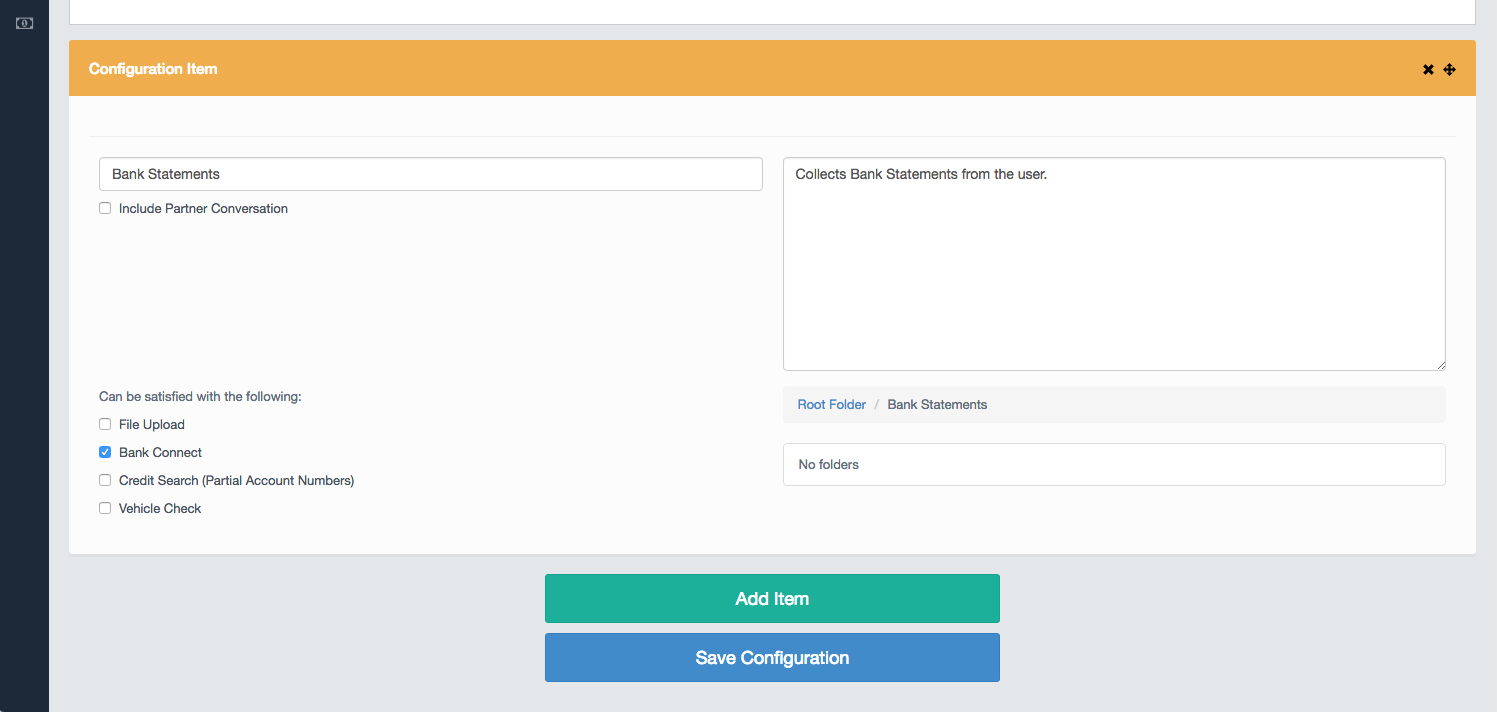
For the configuration above, we have added in a name, description, selected Bank Connect and selected a folder the uploads to go into.
- Name
- This is simply so you can see what has been requested for the user to fill out, it's best to make the name something the advisors understand
- Description
- The description is just so you know what this item is meant to accomplish.
- Can be Satisfied with the following
- This is what the user can complete this item with. It's important you select the correct box for the correct item.
- File Upload - Asks the user to upload a picture, we recommend this be a .jpg or .png file
- Bank Connect - Asks the user to login to their internet banking so we can download the statement information into our system.
- Credit Search - Asks the user to consent to a credit search which will gather their credit history from our partner Equifax.
- Vehicle Check - Checks the users vehicle details with the DVLA database and adds vehicle details to their client profile in HubSolv.
- This is what the user can complete this item with. It's important you select the correct box for the correct item.
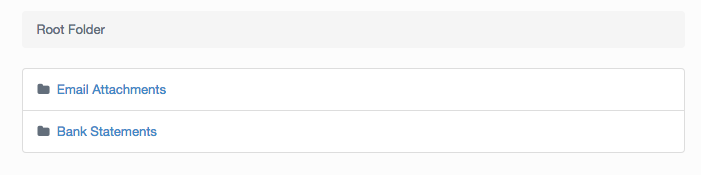
- Folder Directory
- The root folder you select is where the files will go, once the item is completed by the user.
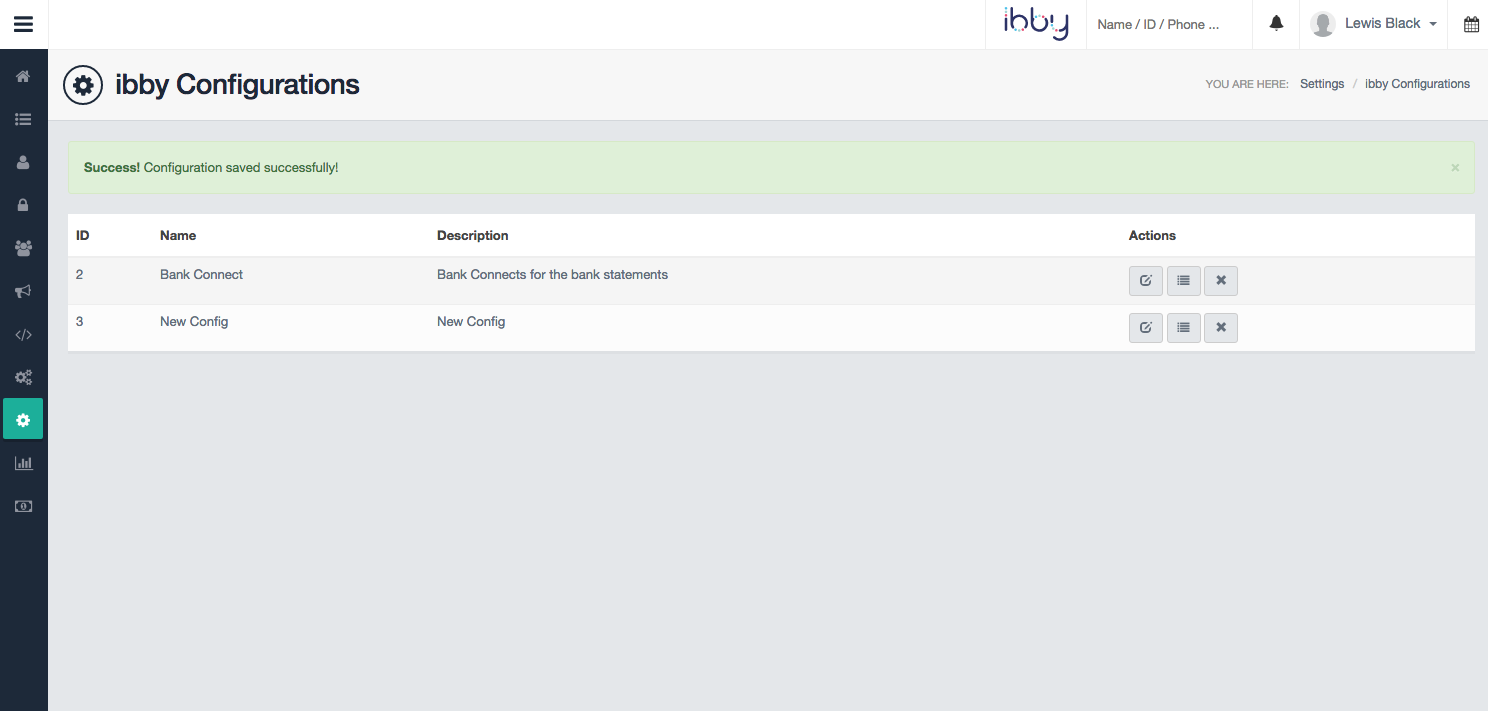
Once you are happy with your configuration, you can scroll to the bottom of the page and select Save Configuration. It will then take you back to the screen listing all your configurations.
You should get a message pop up to confirm your set up has been successful.
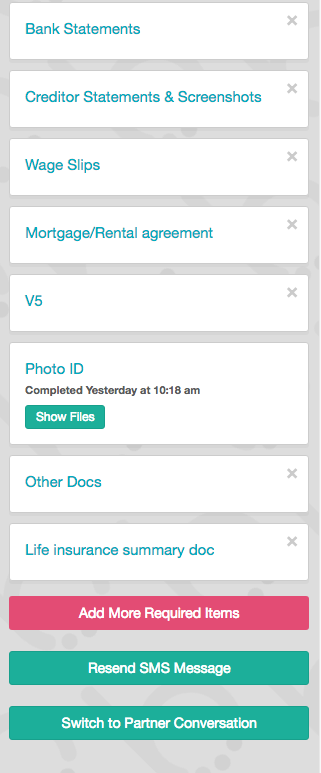
With your configuration saved, you can go to the HubSolv Messenger tab and click the dropdown menu to view the configurations, as well as select one in order to load it.
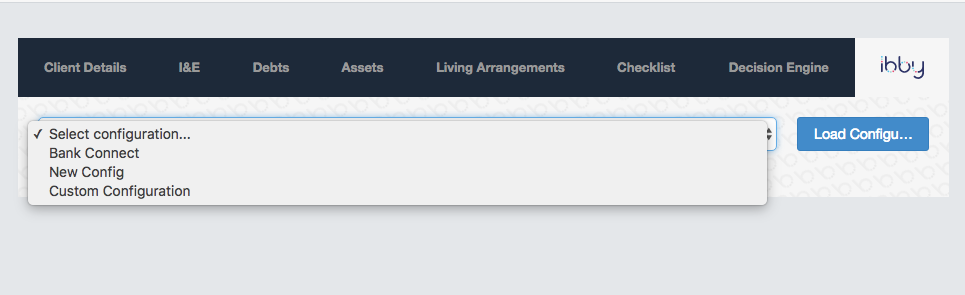
Once loaded, it will pull in all the Items and details you set earlier.
If you scroll to the very bottom, you should see a button called 'Start Chat'. This will allow you to start a conversation with this client. You can also add more items such as a Credit Search or Bank Connect, after the chat has started, by using the add items button.
Comments
0 comments
Please sign in to leave a comment.