
Email templates are similar to SMS templates, however, you can add a lot more detail into them. To create an email template initially;
- Go to the template icon in the left hand navigation
- Create email template
- Name the template
- Describe the template
- Add an email subject line
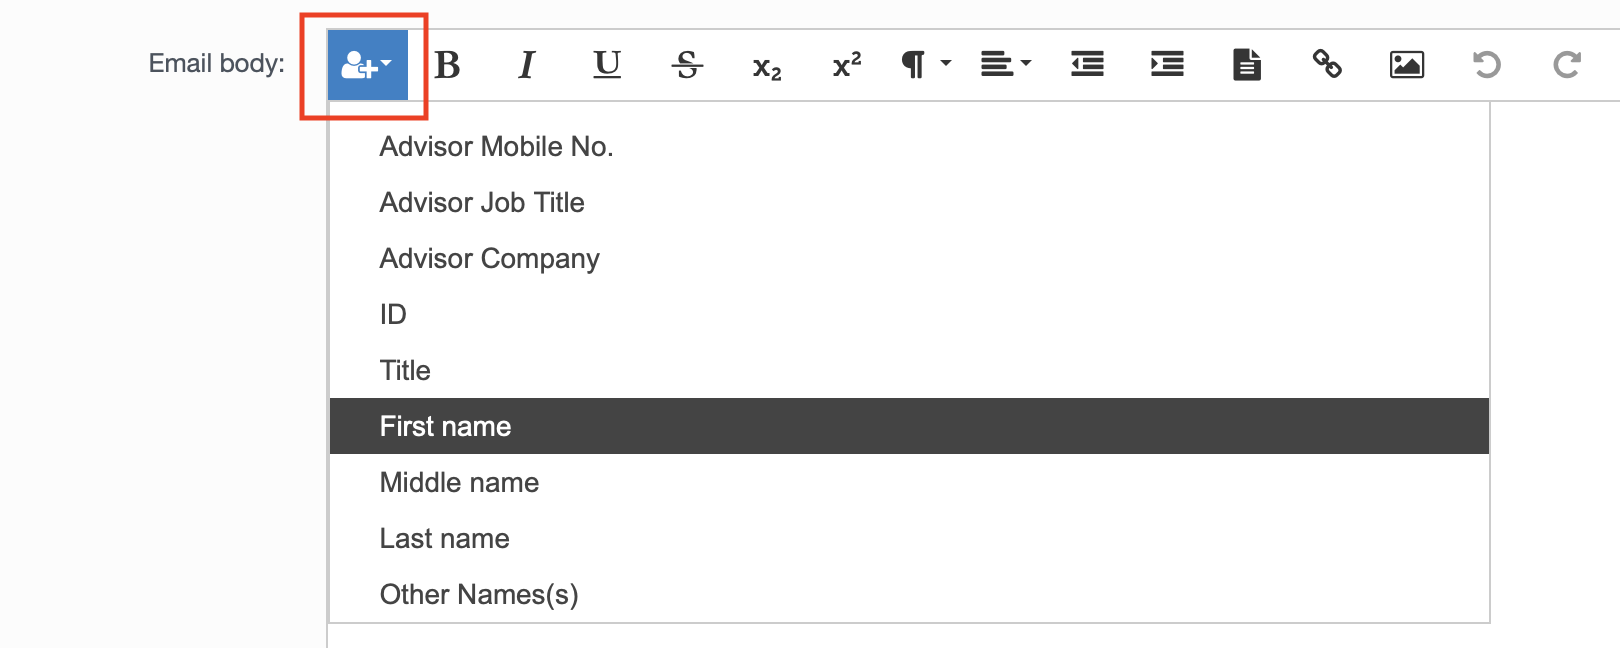
As with letter templates, you are able to populate the body of your email with a series of dynamic fields pulled from the client record. To do this, ensure you are using {brackets} either side of the dynamic field text eg {title} {firstname} {lastname}.
A full list of the most commonly used dynamic fields can be found by clicking here.
You can also pull through dynamic fields by selecting the “insert field” icon.
You can also upload files that you want to attach to an email.
To give an example; if a debtor does not qualify then you could use this facility to upload a brochure of advice to attach to the email explaining other bodies which maybe more suitable. Drag any attachments you wish to attach into the attachments box.

Finally, you can brand your email template by selecting the landscape picture icon and uploading an image.
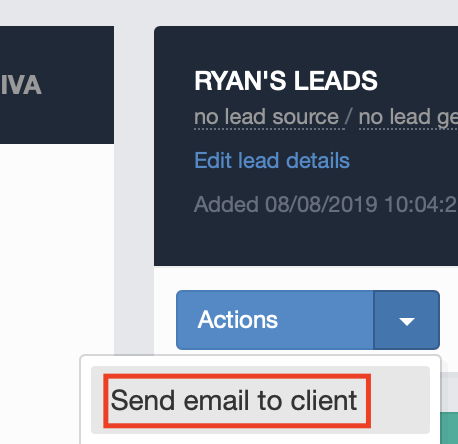
As with letter templates, you can automate emails to go out to clients via your workflows and triggers, or you can send it manually via the actions menu in a client record that has a live email address stored.
For more help on how to setup workflows and triggers to automate the sending of emails, please see this guide, or contact helpdesk@hubsolv.com for more assistance.
Comments
0 comments
Article is closed for comments.